In the last project you practiced and developed the basics of creating a web site. In this project we are going to greatly expand on the design of your web site as well as (optionally) acquire a unique domain name so you can easily find your web site anytime you like.
A domain name is just the term used to describe the primary address of a web site. Some famous domain names include www.cnn.com, www.google.com, and espn.go.com. Most of the time domain names begin with www but it is not always a requirement. Right now your web page has a long drawn out URL (just a fancy abbreviation for web address), that is going to be hard to convince family and friends to use. Well it turns out that it is relatively inexpensive, and easy to create and maintain your own domain name and direct it to wherever you web site is published. There are many places you can go to get a domain name but for both economical and trustworthiness reasons, you might consider using Yahoo, DomainSite, or GoDaddy. Since you will need a credit card to do this, this step is optional. Moreover, you can either perform this task now or wait until such time as you can use a card conveniently.
The exact method of registering a domain name at these sites will depend on the specific domain name registrar you choose. However, they're basically easy to figure out. However, note that their terms (and prices) can change at a moment's notice.
The main steps overall are:
Pick a domain name that is not already in use. For example, if your last name is "Werschulz", you might choose www.werschulz.com. If a .com version of what you want is in use, try .info, .net or .us.
Register the domain with the service. This will require giving some personal information such as your address and phone number. Said information will be visible to anyone in the world who knows your domain name. If this makes you nervous, then give up at this point.
Redirect the domain to point to your Fordham web site. Specify the URL of your home page, e.g., http://www.dsm.fordham.edu/~joeuser.
Specify Masked Forwarding, so that the address that appears in the browser's location box will be your personal one and not the one to which it points.
There will be some delay, from minutes to hours, before the new address becomes usable.
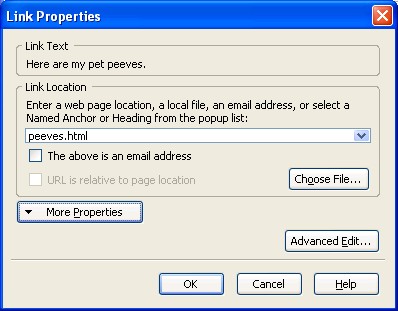
Create two or three additional pages in the same folder as your index.html, containing for instance a short essay on some topic of interest to you, or a list of links to places that you like, or a selection of photos. Provide links from index.html to each of these other pages.
Each page should be accessible from your starting page, and each of these pages should have a link back to your starting page. When appropriate you can even have links going between the pages.
Make sure you create and work on each page in your Master Copy folder and then when you are ready, publish each file that you have created or made changes to. Verify that everything looks good by going to your domain.
Part II is complete. You may now go on to Part III.